News
Understanding the Manufacturing of Allmerit | Leveraging Deep Learning, Executing Strategies with Intelligence! Allmerit's Visual Inspection Equipment Showcases Its Perfect 'Capabilities'"
Release time:
2024-01-06 17:30

Visual inspection refers to the process of converting the target being captured into an image signal through machine vision products (i.e., image acquisition devices), which is then transmitted to a dedicated image processing system. Based on pixel distribution, brightness, color, and other information, the image signal is transformed into a digital signal. It holds immense value in detecting defects and preventing defective products from being delivered to consumers.
The professional research team at Allmerit has developed software with independent intellectual property rights, which also possesses the capability for upgrades and modifications. The software can be customized to utilize advanced artificial intelligence (AI) deep learning algorithms, resulting in high accuracy, significantly reduced false detections, and significantly improved production efficiency.
Allmerit Vision Machine Vision System Platform

Different types of visual inspection equipment. Each device excels in its own performance, with strong compatibility that can adapt to products in various fields. They have high detection accuracy, simple and easy-to-learn operation, and are safe to use.
Kuangqiyingshi®-100 (QFN)

Offline QFN Lead Frame Inspection
Primarily suited for inspection of etched lead frames of QFN.
The main inspection items include detecting stains, discoloration, sand holes, plating area deviation, silver deficiency, silver leakage, deformation, over-etching, connected pins, and other defects in the electroplated areas such as frames, pins, and base conductors that are visible under illumination.
Product specifications for inspection: Copper material, length ranging from 160-300mm, width ranging from 30-100mm; thickness between 0.102mm and 0.508mm inclusive, with a bending depth less than 1.2mm. It supports double-sided inspection.
Appearance resolution: 0.04mm; UPH (Units Per Hour) is 6-8 pieces/minute; missed detection rate is less than 0.02%; over-detection rate is less than 0.15%.
Display of Product Defects
After inspection with Allmerit's visual inspection equipment, the defects in the product will be nowhere to hide, enabling effective screening of defective products. Additionally, the images can reflect any issues with the production equipment, allowing for timely maintenance and adjustments, which will greatly improve product qualification rates.

Chuanzeyingshi®-S20 (Stamping)

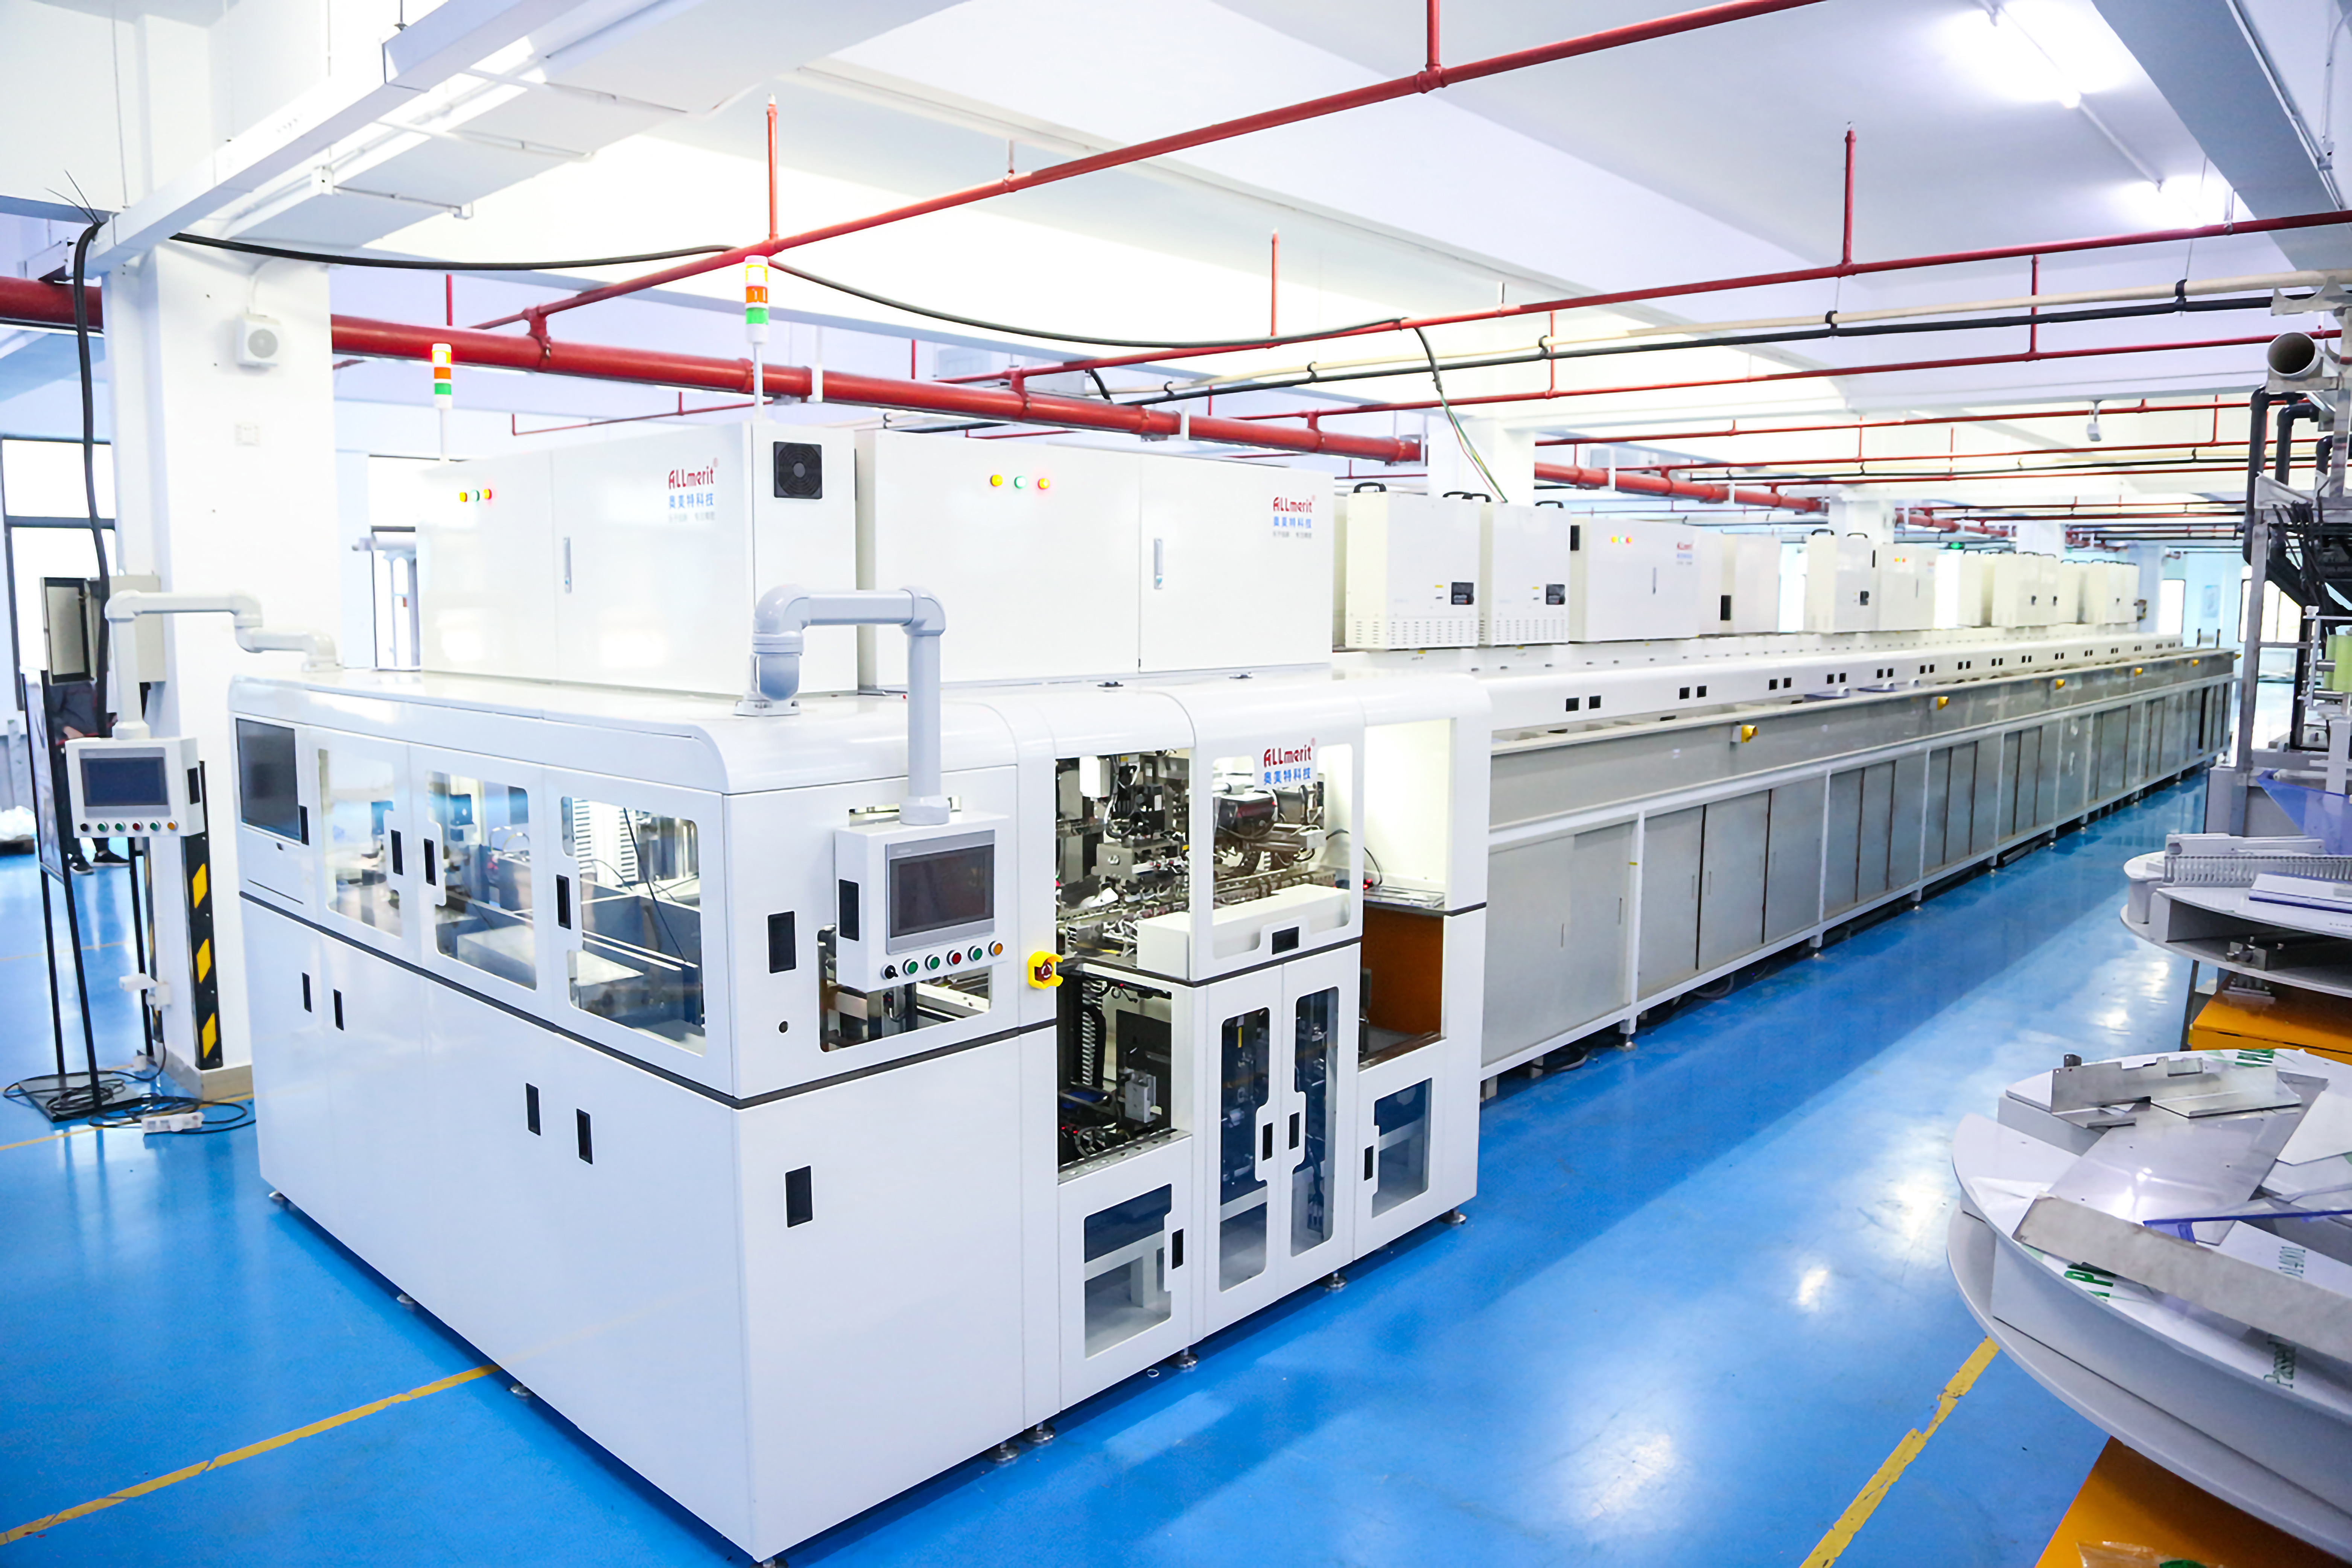
Inline Continuous Single-sided Inspection Connected to Stamping Equipment
Suitable for online inspection of stamped lead frames.
The main inspection items include burrs, missed punches, deformation, dirt and unknown objects, black substances, indentation, creases, pin width, round hole diameter, hole edge distance, base island width, and so on.
The inspection product width ranges from 30-100mm.
The maximum resolution is 0.025mm/0.03mm, adjustable, with the adjustment range based on the actual site; the UPH can reach up to 800n/min, adjustable according to the stamping speed; the missed detection rate is less than 0.02%.
Display of Product Defects
Even subtle burrs and small missed punches can be easily detected, with clear imaging that allows for quick identification of the problem.

Chuanzeyingshi®-P30 (Electroplating)

Inline Continuous Double-sided Inspection Connected to Electroplating Equipment
Suitable for online inspection of plated lead frames after electroplating.
The main inspection items include visible stains, yellowing, discoloration, water stains, plating area deviation, silver deficiency, silver leakage, scratches (excluding minor scratches and steps with a depth less than 0.025mm), and indentation.
Inspection product width: 30-100mm.
Single pixel accuracy is 0.025mm; silver surface inspection accuracy is greater than 0.075mm, adjustable, with the adjustment range based on the actual site; copper surface inspection accuracy is greater than 0.075mm, adjustable, with the adjustment range based on the actual site; UPH can reach 8-12m/min, adjustable according to the on-site speed; missed detection rate is less than 0.02%.
Display of Product Defects
Maximizing the screening of defective products

Allmerit Technology has undergone a comprehensive upgrade of its visual inspection equipment. Based on deep learning, robotics, and intelligent machine execution strategies, the intelligence of image recognition and analysis has been enhanced. Upgrades and renovations have been made in terms of algorithms, systems, hardware, and software, improving detection accuracy, reducing over-killing, and eliminating missed detections.
Relevant news
